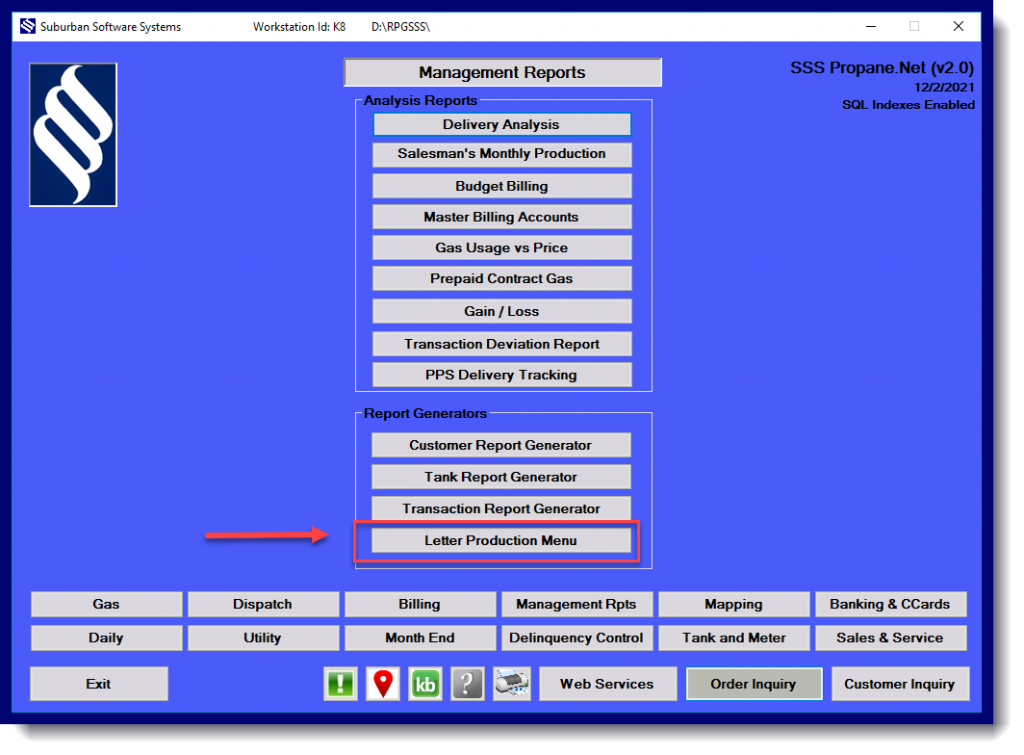
Click on Letter Production on the Management Report Menu:
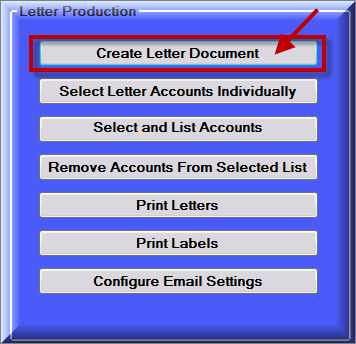
Click on Create Letter Document:
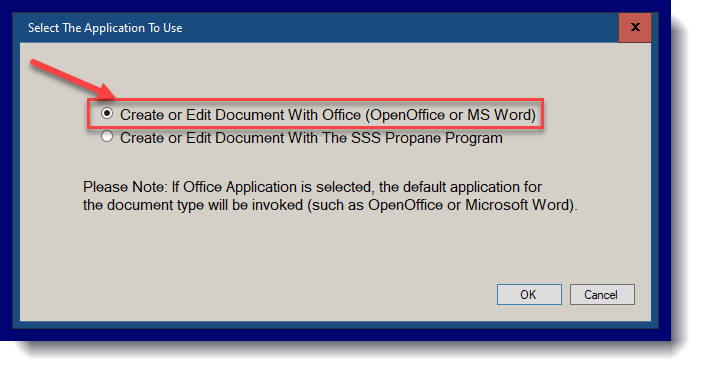
Choose Create or Edit Document with Office and click OK:
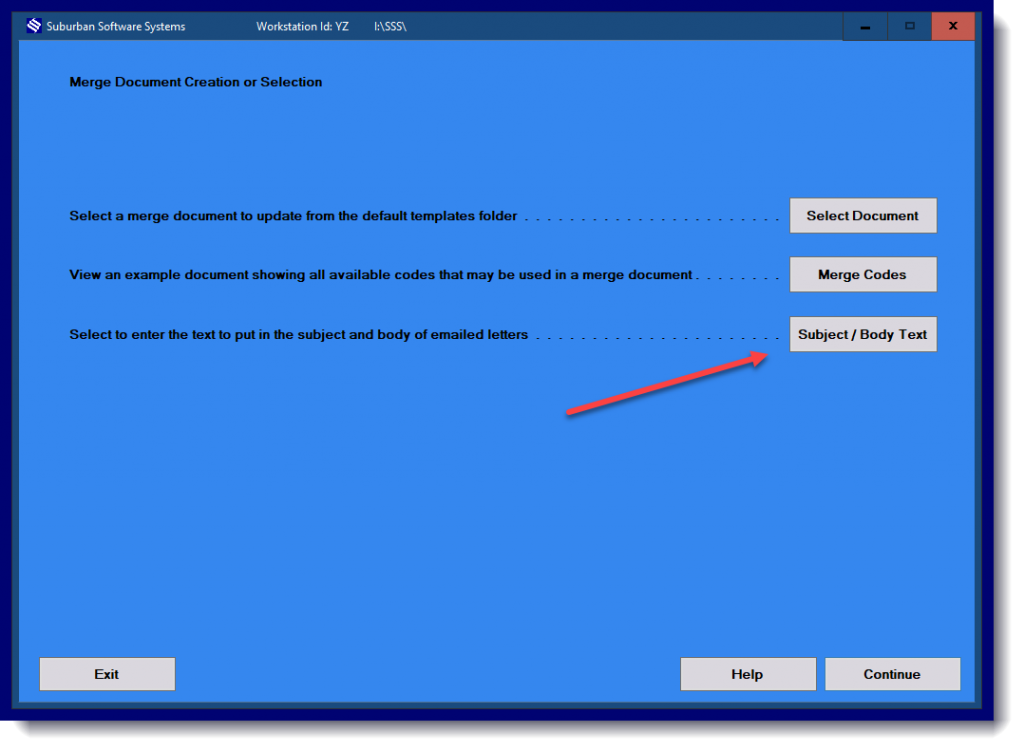
Click on Subject/Body Text to enter the text for the subject and body of the email and then click continue:
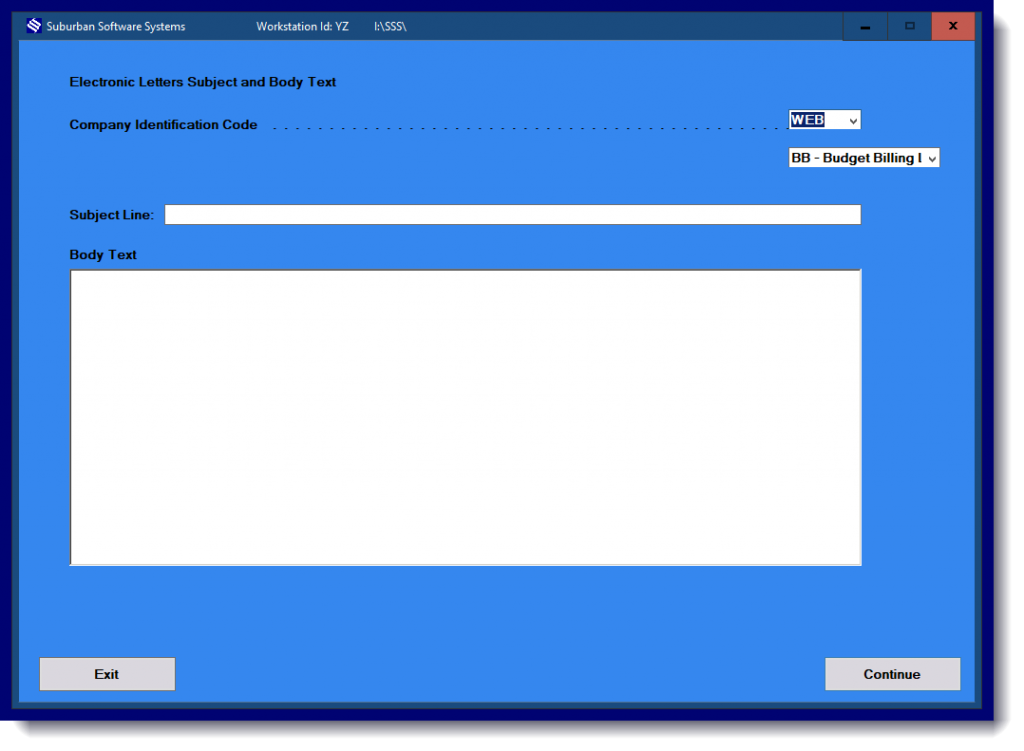
Choose what letter you will be sending out from the drop-down menu, then enter the Subject and Body of the email and click continue to save, and then exit.
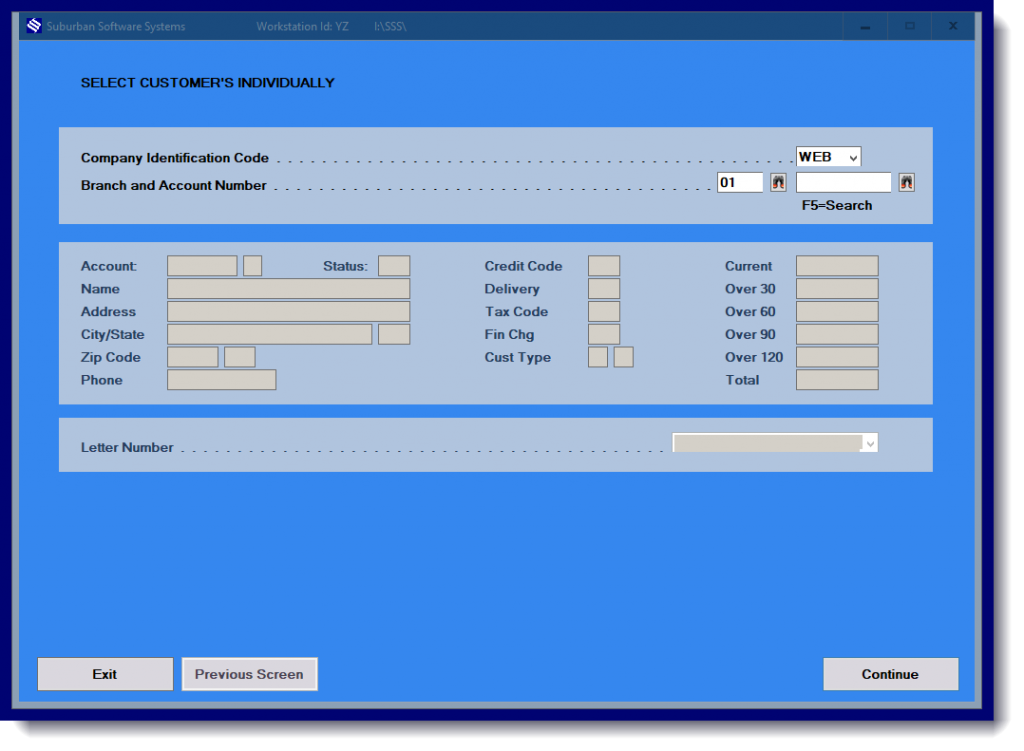
Choose which customer will receive letters either Individually:
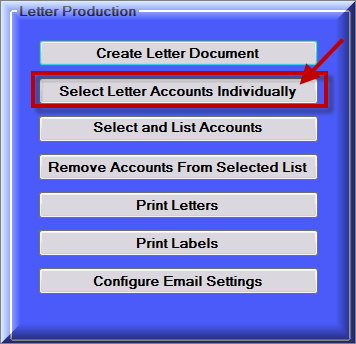
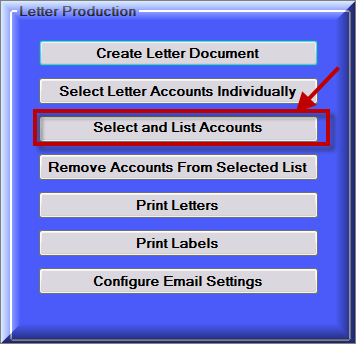
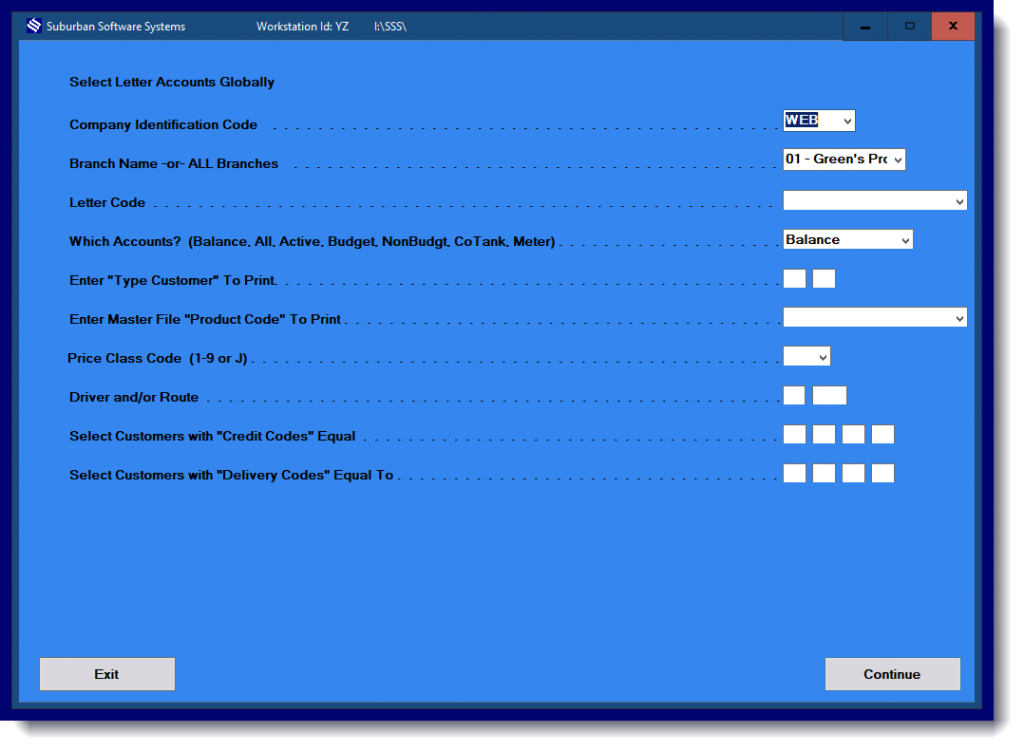
or by Select and List Letters automatically:
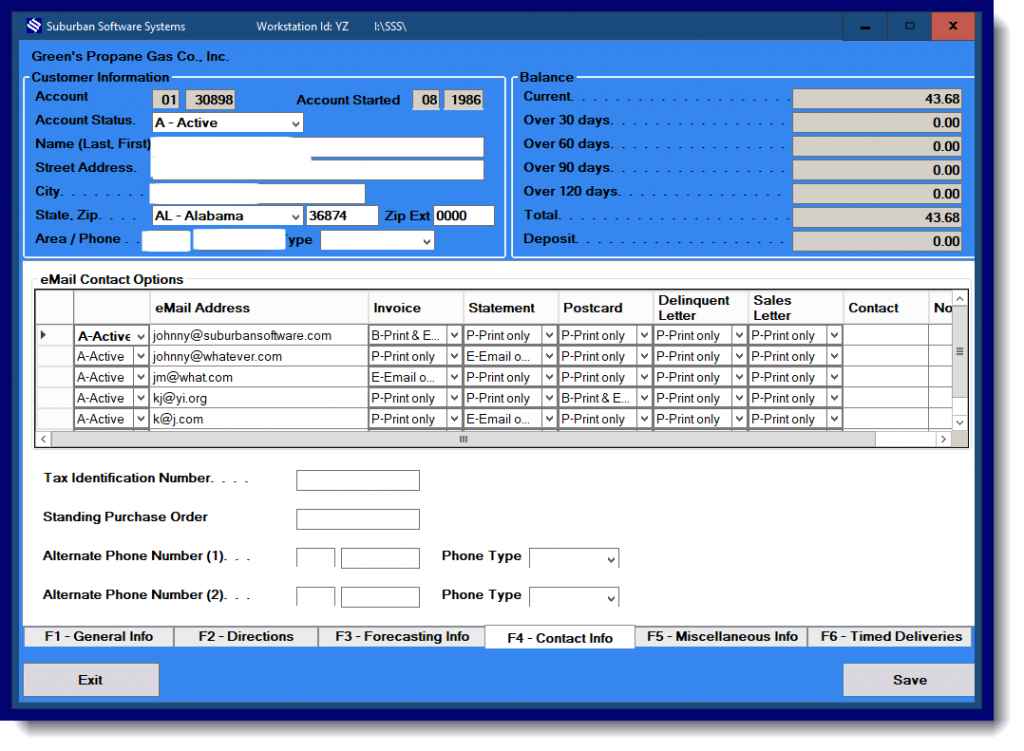
IMPORTANT NOTE: In order for a customer to receive the type of email you are sending, they must have email or print/email setup on their contact information page:
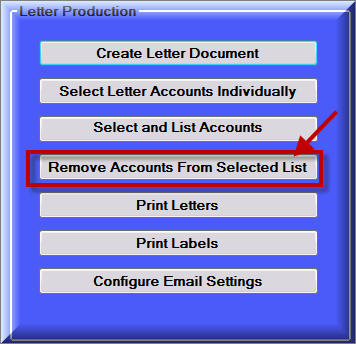
Click on Remove Accounts from Selected List: to remove individuals that do not need to receive a letter:
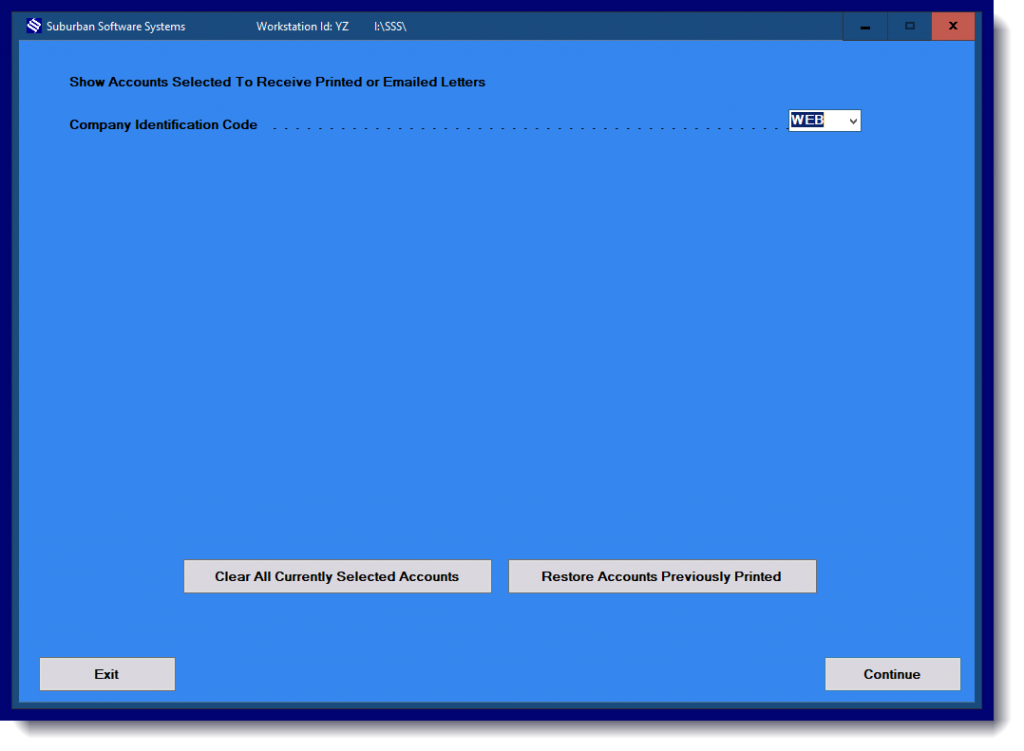
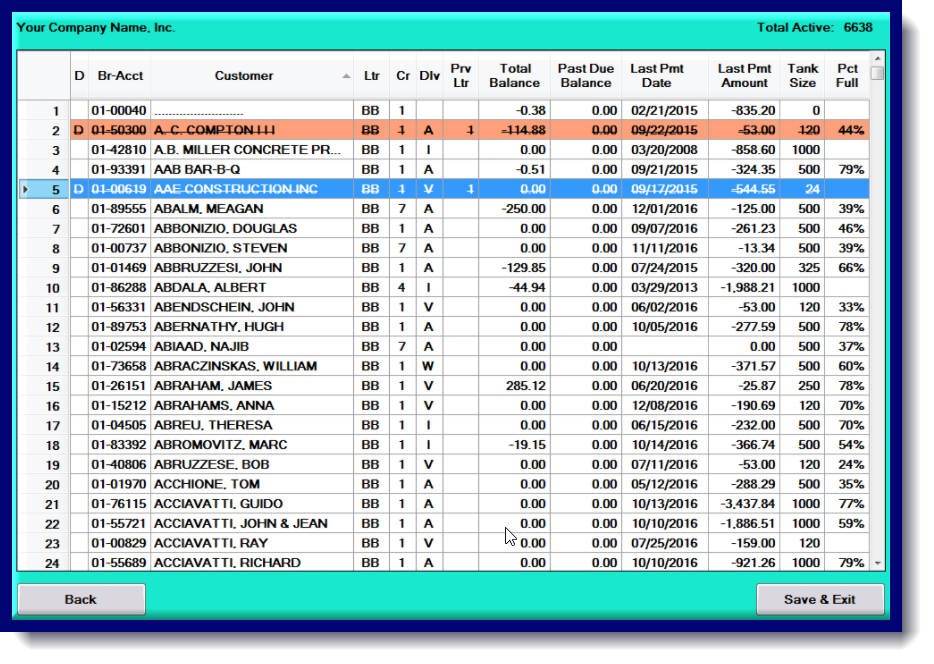
You will get a list of accounts that will receive a letter/email. To deselect someone from the list just click on the account that you do not want to receive an email. A “D” will appear beside the deselected account:
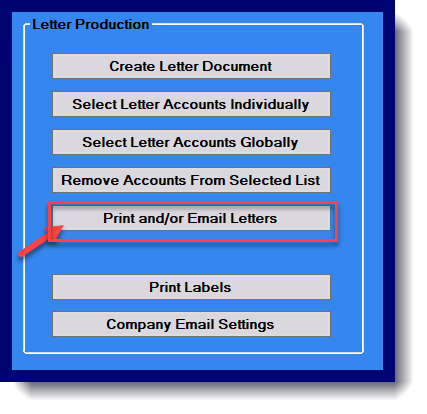
Click on Print and/ or Email Letters:
Choose which letter code to print/email, Dates, and output, then click continue.
You can also choose to BCC an email address on the Print Letter Screen
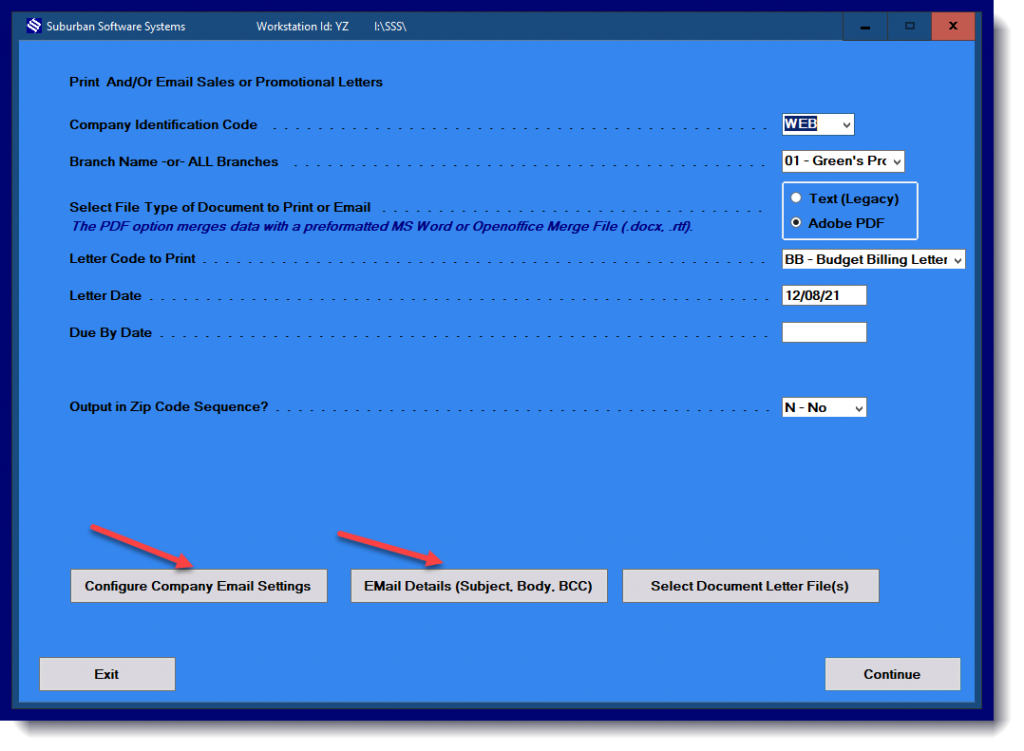
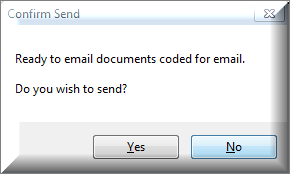
You will then get a pop-up window that will ask are you ready to send the email. Click Yes to Send or No to Cancel.
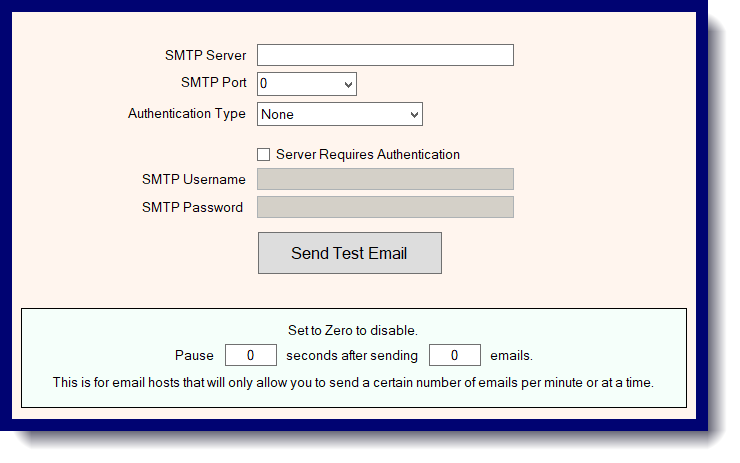
There is also an option to configure Email settings on the screen before. Click on if needed. This sets the settings for the type of email you are sending out (invoice, letter, etc). Use your email settings provided by your email provider. You can also configure this through the Utility Menu.
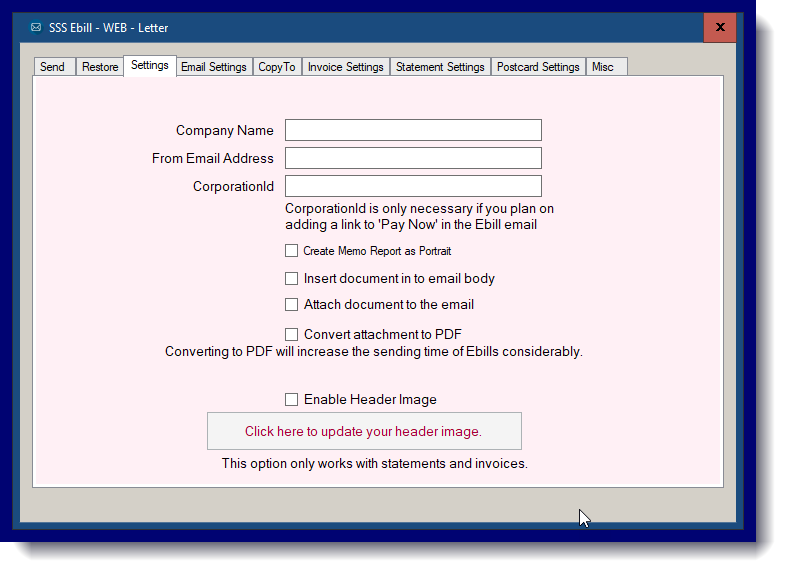
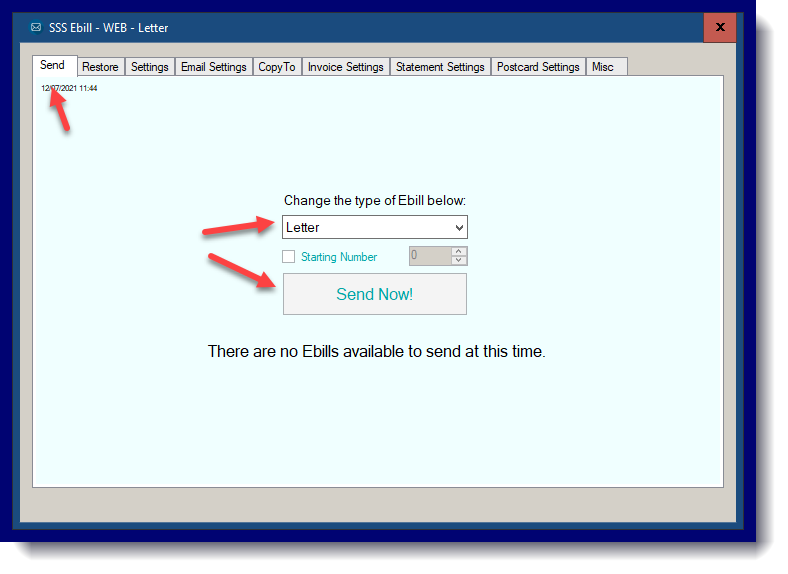
Click on the first tab to send. Choose Letters from the drop-down menu and click send now.
